Adding Windows Firewall Rules to Allow Client VPN Communication
In some cases, Windows PCs may need local firewall rules created to allow Client VPN connected clients to communicate with them. These are the steps to create a general rule to allow this communication.
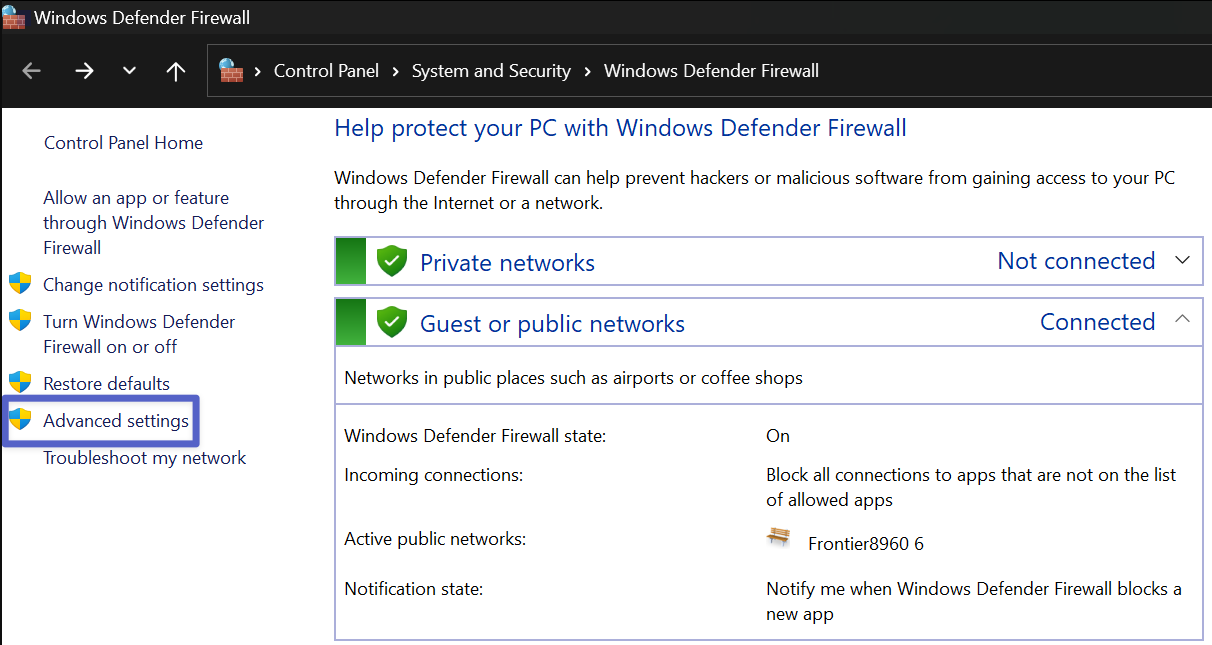
- In the Windows search bar, search for 'Firewall' and click on 'Windows Defender Firewall' to open the application.
- Click on 'Advanced Settings'.
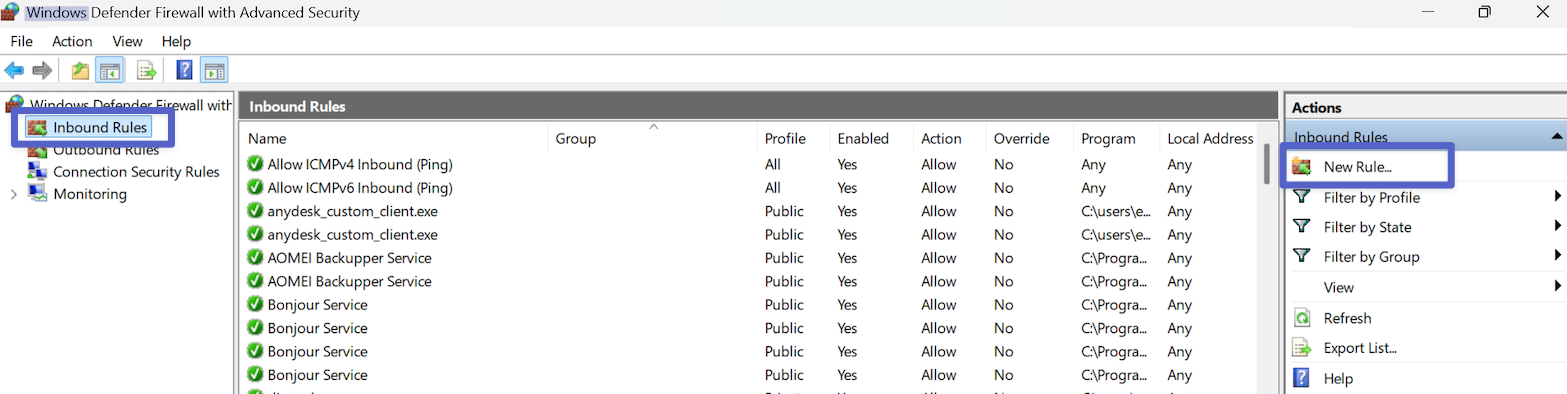
- Click on 'Inbound Rules' then 'New Rule'.
- Select the 'Custom' rule type and click 'Next'.
- Select 'All Programs' and click 'Next'.
- For 'Protocol and Ports', leave the default 'Any' and 'All ports' selections to allow all traffic from Client VPN clients. This can be changed to restrict access to certain communications if needed. Click 'Next'.
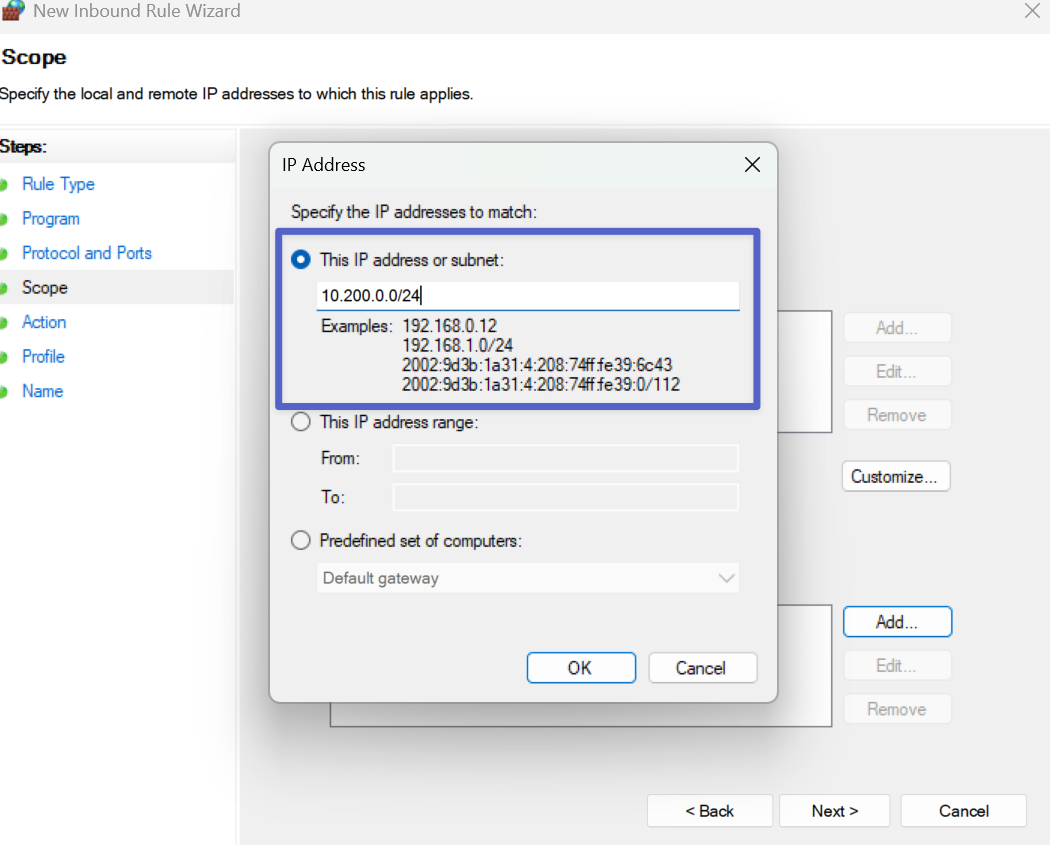
- For scope, leave the Local IP addresses selection to 'Any IP address'. For remote IPs, select 'These IP addresses' then 'Add...'. Select 'This IP address or subnet' and enter 10.200.0.0/24. Click 'Ok' then 'Next'. Instead of the entire subnet, if only a single client VPN user should be able to communicate, a single IP can also be used.
- Select 'Allow the Connection' and then click 'Next'.
- Select 'Domain, 'Private', and 'Public' connection types and click 'Next'.
- Name the rule and click 'Finish'.
- Click on 'Outbound Rules' then 'New Rule'. Repeat steps 4 through 10.