Introduction
This guide explains how to add new users to your Dashboard account, choose the right role, and understand what each role means. Each role controls what a user can see and do inside Dashboard.
Adding a User
To add a new user:
- Go to Settings → Users in your Dashboard.
- Click Add user.
- Enter the user’s email, first name, and last name.
- Choose the right role from the drop-down list.
- Click Save.
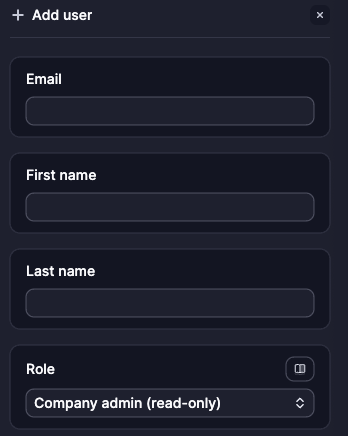
Figure 1: Adding a new user and selecting their role.
Viewing and Editing Users
You can see all existing users under Settings → Users. From here, you can:
- View each user’s assigned role.
- Edit a user’s details or update their role.
- Check the user’s status (Active or Inactive).
Role Glossary
When creating or editing a user, you’ll see the following role options:
-
Partner: Full permissions to manage all networks in a company.
-
Company admin: Can manage all networks in the company.
-
Company onboarding: Can complete onboarding forms and view all networks.
-
Company admin (read-only): Can only view all networks, no editing.
-
Network admin: Can manage specific networks.
-
Network onboarding: Can complete onboarding forms and view assigned networks.
-
Network admin (read-only): Can only view specific networks, no editing.
-
Client VPN: Can use Client VPN but cannot log in to Dashboard.
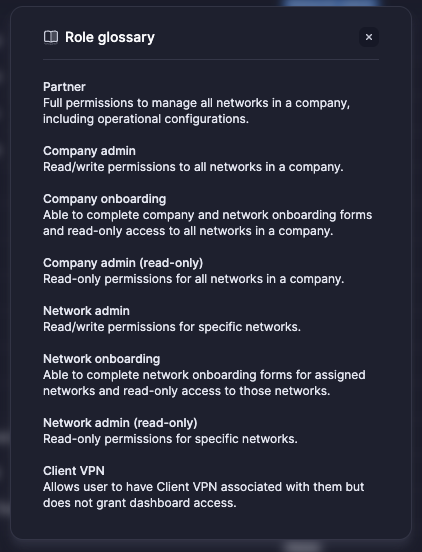
Figure 2: Role glossary as viewed from dashboard.