Who can use this feature
- Partners
- Company Admins
- Network Admins
Meter offers a simple, integrated Captive Portal. The portal can:
- Have users accept terms and conditions before gaining access.
- Require users to enter their Name/Email for information collection.
- Get required approval from a company or network admin before gaining access.
Multiple different captive portals can be used and assigned to different VLANs. To create a captive portal, log into the Meter Dashboard and navigate to Network-wide > Captive Portal > click ‘Add a captive portal’.
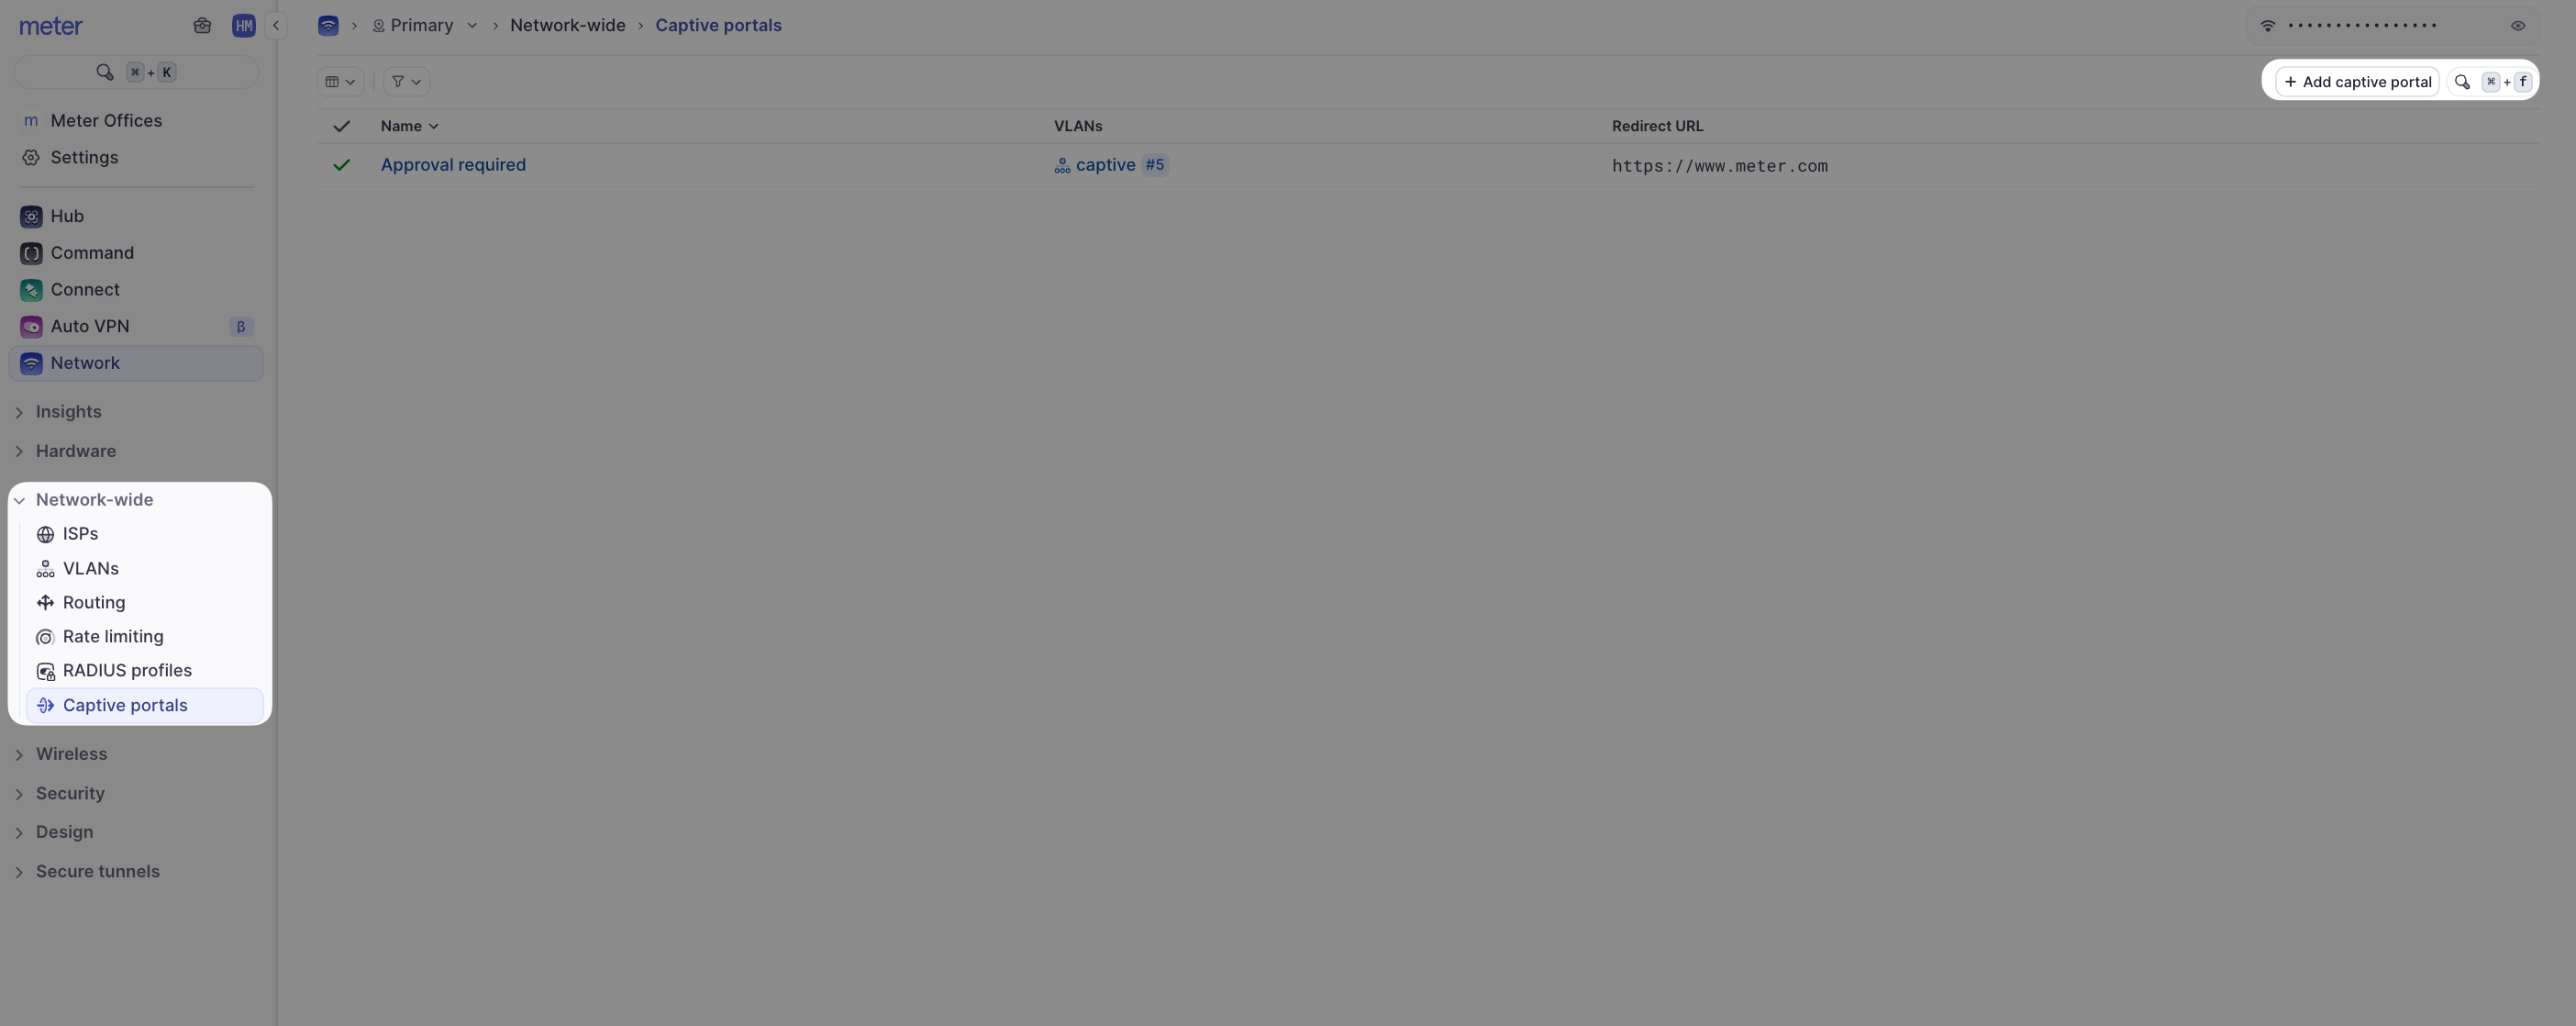
On this screen, you will see a preview of the Captive portal and configurable options on the right-hand side. These options are:
Name - This is how the Captive Portal will be referenced in the Meter Dashboard.
VLANs - Select which VLANs you'd like to have intercepted by the Captive Portal.
Redirect URL - Enter the URL users will be redirected to after accepting the terms. If left blank
www.meter.com is the default.
Approval Required - If toggled ON, users must get approval from a company or network admin before getting access to the network. If enabled, ensure that the 'Captive portal access' alert is configured to alert the admins of requested approval. See more on alerts here: How to Configure Alerts.
Authorization Time - How long a device can stay connected before needing to pass through the captive portal again.
Background and Text Colors - Use HTML color codes to change font and background colors.
Logo - Upload a custom image. This will replace the 'meter' logo on the portal.
Call to action - The text that will be displayed on the button to accept terms and conditions and/or connect to the Wi-Fi.
Required Fields - If enabled, users will need to provide information in the text fields to authenticate.
Terms & Conditions (optional) - Enter the Terms and Conditions required to be accepted by users before using the network.
After saving your changes, the captive portal will automatically be enabled for your selected VLANs. Users will be redirected to the Captive Portal after they authenticate to the network.
Reviewing Access and Collected Information
From the Captive portals page, click on the name of the captive portal to review, and then ‘Access’.
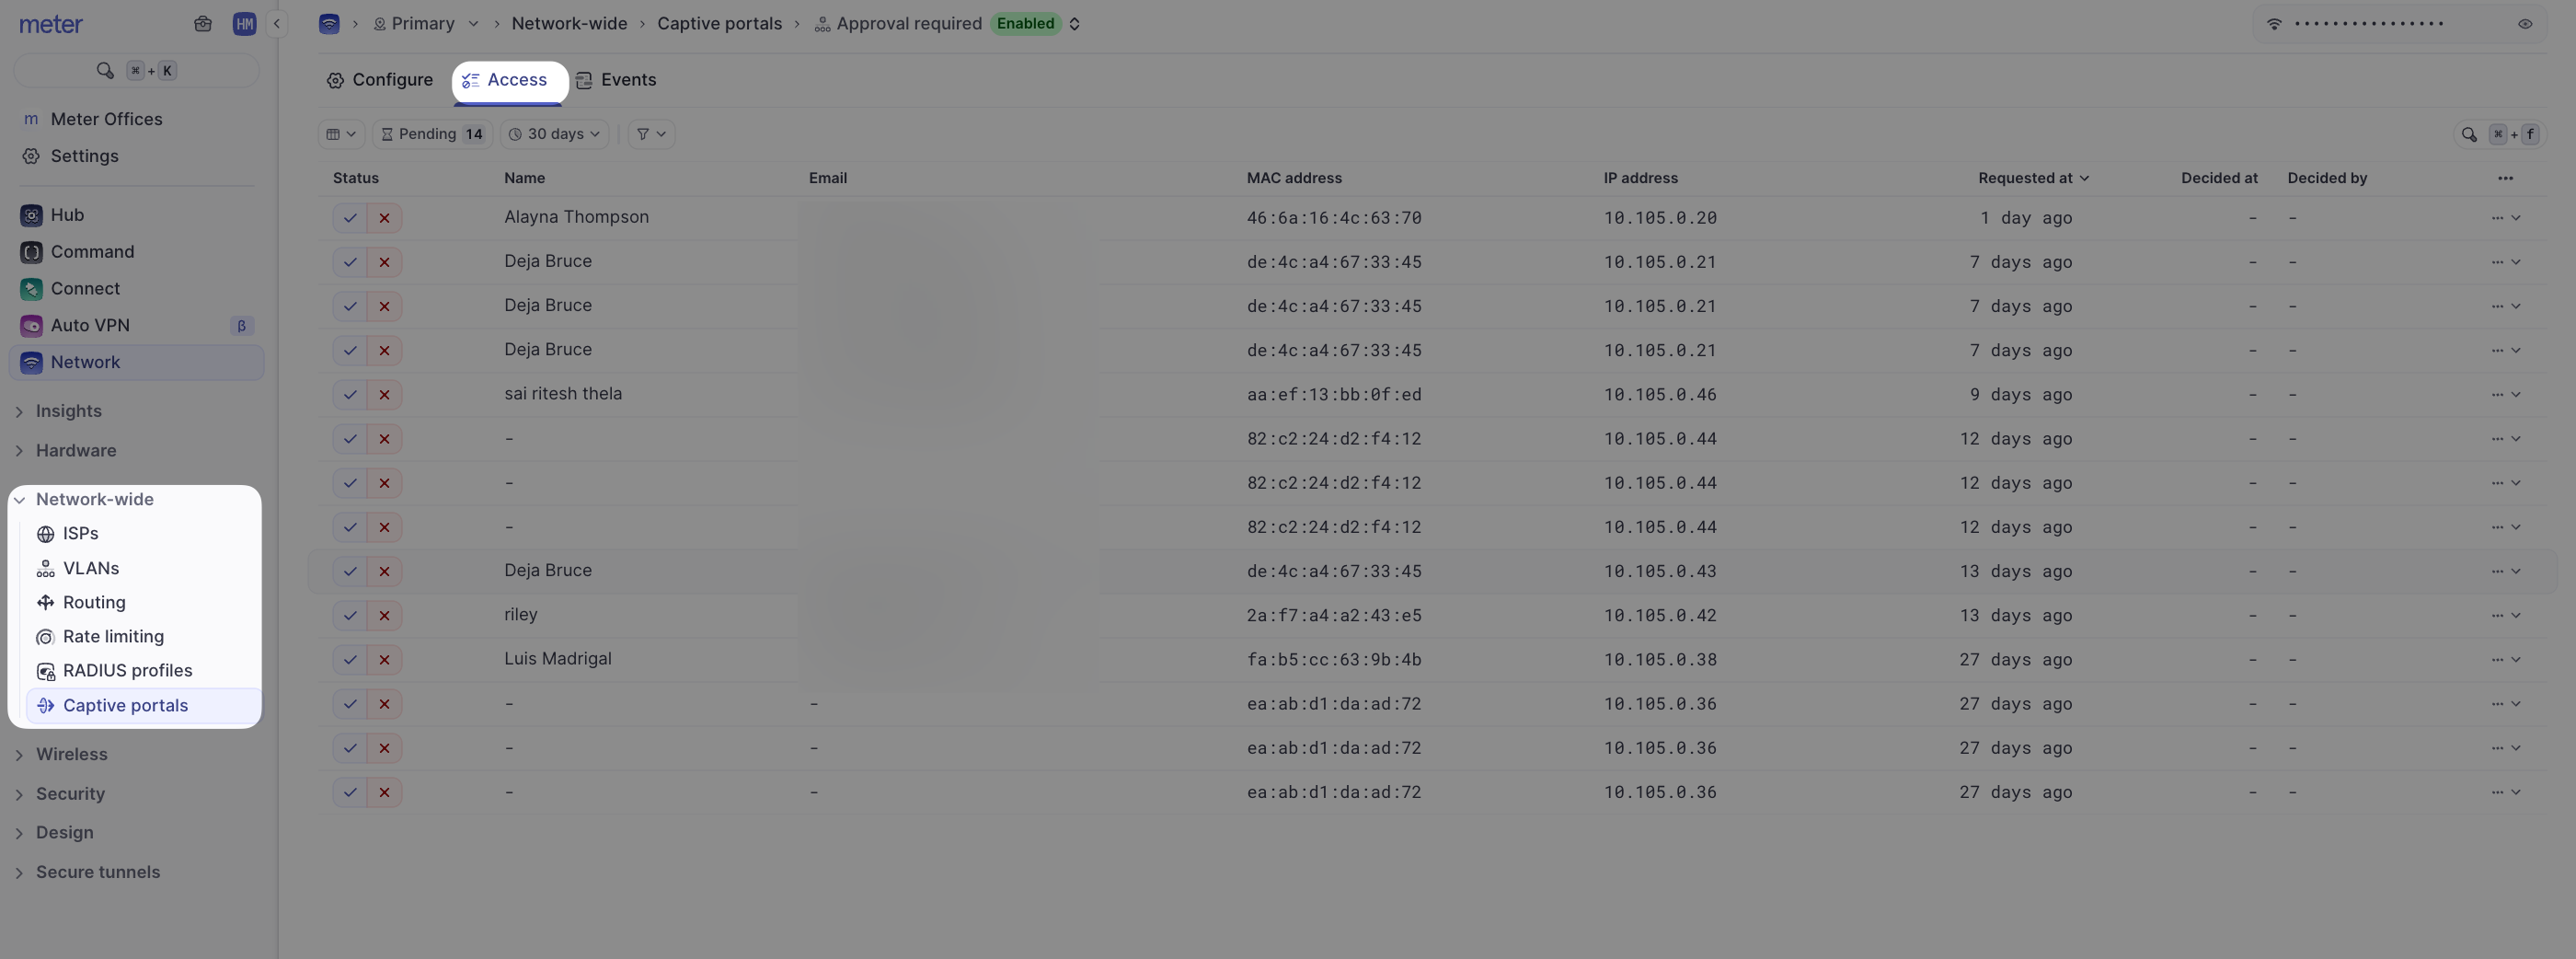
Here, there is a quick view of any pending requests (if approval is required), current, and previous sessions. If required fields are enabled, the data can also be viewed here.When access is approved or denied, the user will receive an email letting them know.
For pending requests, use the buttons in the Status column, or use the actions menu (⋯) to approve or deny access.
If needed, personal data for the user can be cleared using the actions menu (⋯). This will clear every column in the Access page for that user. That device will continue to have access to the network.