Overview
This guide walks you through setting up your device to connect to your organization's Meter Client VPN. Once configured, you can securely access internal resources like servers and applications as if you were on-site.
Who can modify this feature?
- Partner
- Company/Network Admins with write access
- Meter Support
Prerequisites
- The VPN server must be running on the Meter Firewall (refer to Setting up Client VPN)
- Your device must be registered in the Dashboard (see Adding and removing VPN clients)
- You must have received a .conf file from your IT team
macOS setup
- Contact your IT team and request a Meter Client VPN configuration (they'll send a .conf file with your name in the filename)
- Install the WireGuard Mac App from the App Store: https://apps.apple.com/us/app/wireguard/id1451685025?ls=1&mt=12
- Launch the WireGuard Mac App
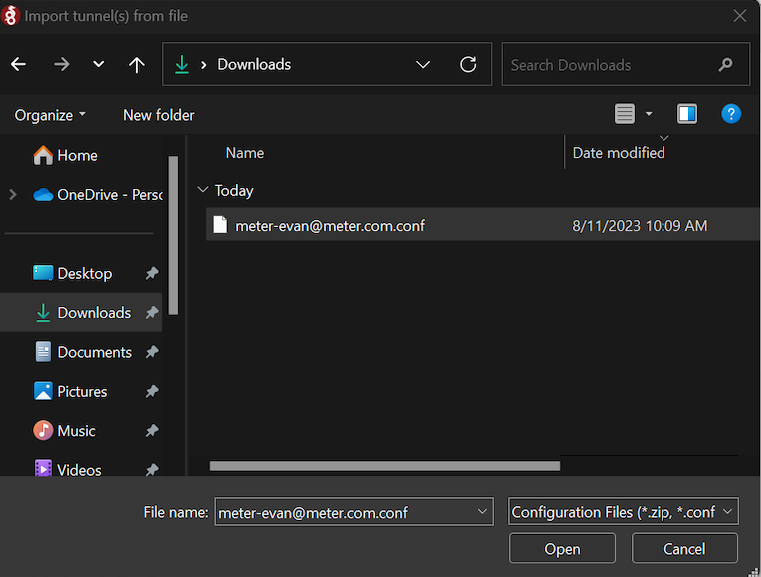
- Click the WireGuard symbol in the top-right of your screen > Click Import Tunnel(s) from File...
- Select the .conf file provided by your IT team
- Click Import
- Click Activate in the WireGuard window
Your VPN is now active.
Auto-connect for macOS
The macOS WireGuard app supports automatically connecting or disconnecting based on your Wi-Fi network. If you are in the office, Meter recommends leaving the Client VPN disabled.
To configure auto-connect:
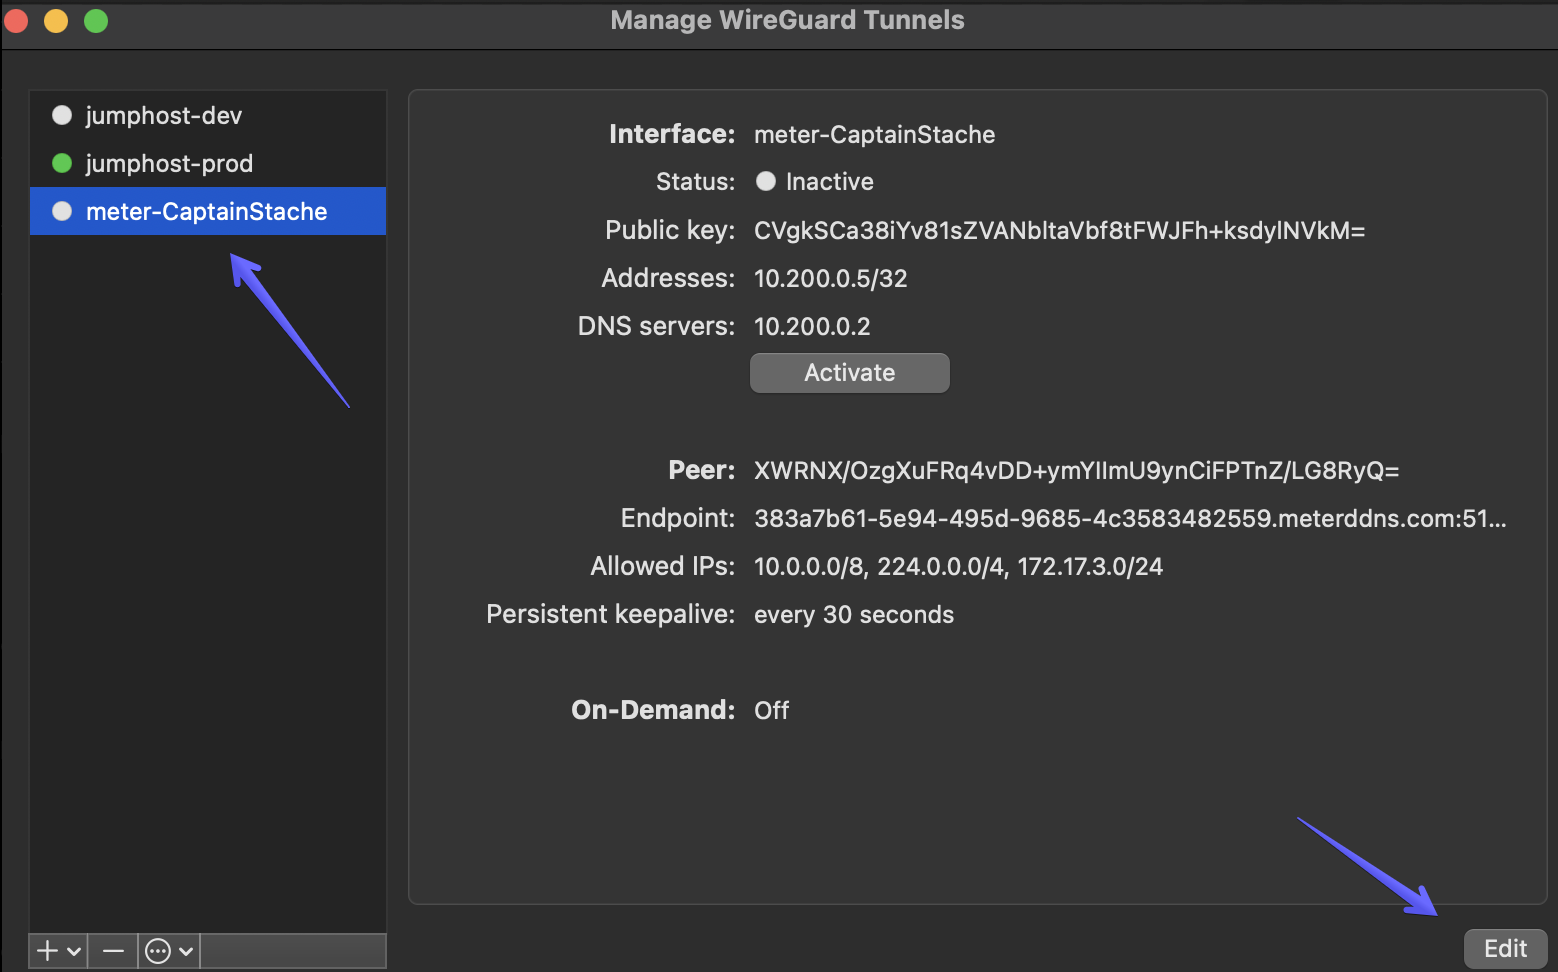
- Click the WireGuard icon > Manage Tunnels
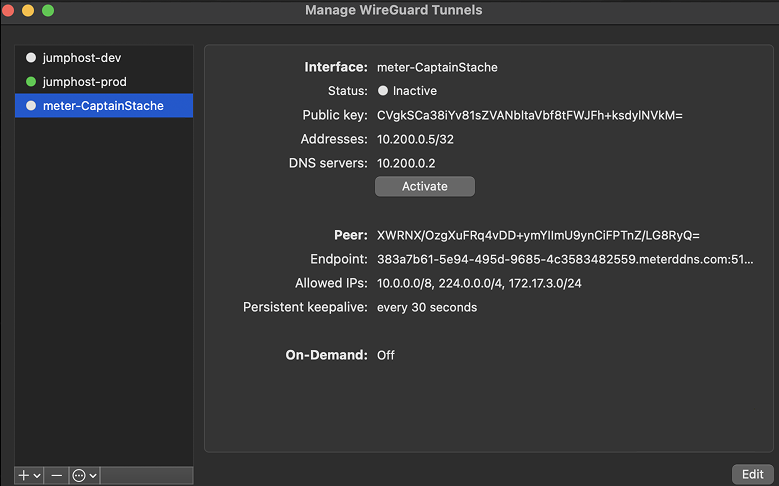
- Click the VPN profile you want to configure and click Edit
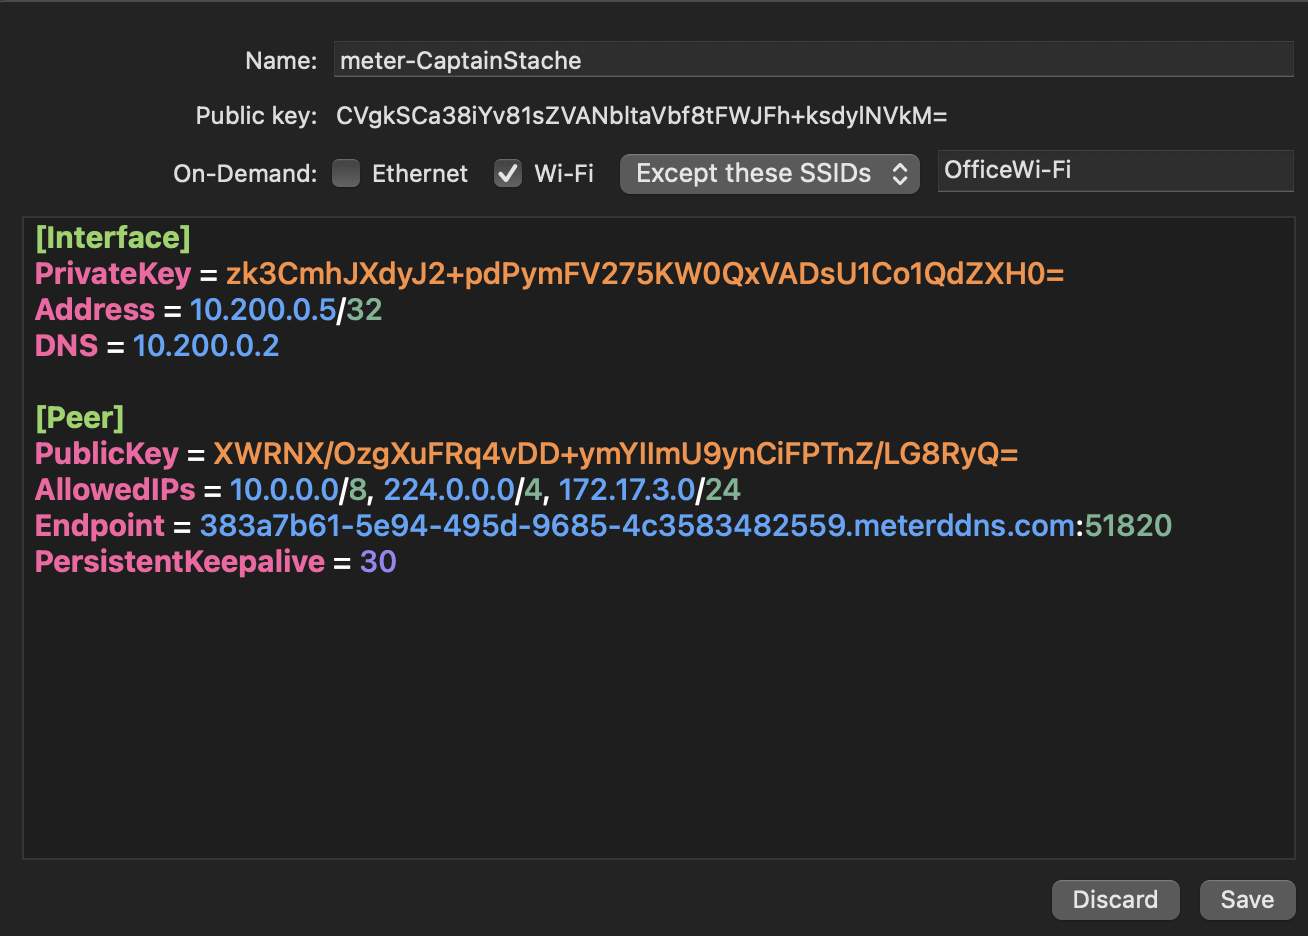
- Check the box next to On-Demand: Wi-Fi
- Select Except these SSIDs and enter the name of your office Wi-Fi network
- Click Save
Your Mac will now automatically connect to the VPN unless it is connected to your office network.
Windows setup
- Contact your IT team and request a Meter Client VPN configuration (they'll send a .conf file with your name in the filename)
- Install WireGuard from https://www.wireguard.com/install/ (select Download for Windows)
- Launch WireGuard and click Import tunnel(s) or Add Tunnel
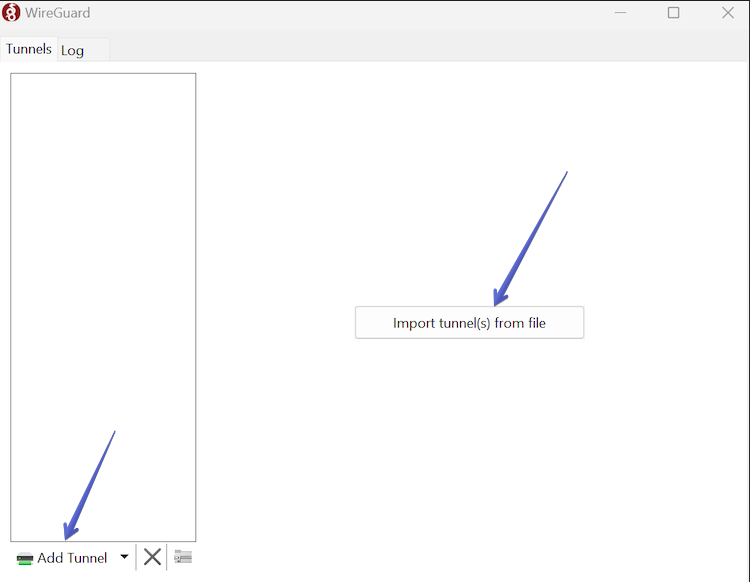
- Select your downloaded configuration file and click Open
- Click Activate on your tunnel
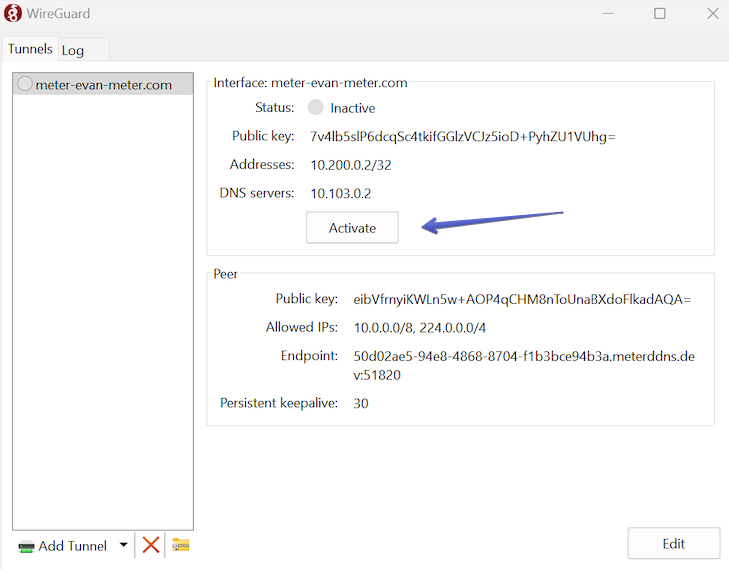
The tunnel status will change to "Active" and you are connected.
Ubuntu setup
-
Contact your IT team and request a Meter Client VPN configuration (they'll send a .conf file with your name in the filename)
-
Install WireGuard:
sudo apt install wireguard- Install the suggested packages:
sudo apt install openresolv && sudo apt install resolvconf- Ubuntu requires the .conf file to be a valid network interface name. Rename the file:
mv 'filename.conf' wg0.conf- Move the .conf file into the WireGuard directory:
mv wg0.conf /etc/wireguard- Bring up the VPN tunnel:
sudo wg-quick up wg0- To enable the VPN on boot:
sudo systemctl enable wg-quick@wg0If you encounter any errors, take a screenshot and open a support ticket at meter.com/support.
iOS setup
- Contact your IT team and request a Meter Client VPN configuration (they'll send a .conf file with your name in the filename)
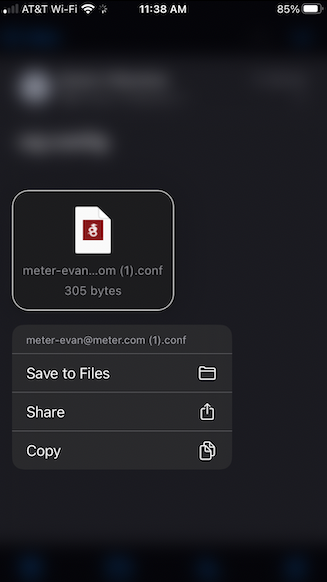
- Save the .conf file to Files on your iPhone
- Install the WireGuard App from the App Store
- Launch the WireGuard App
- Tap the + in the top right > Create from file or archive
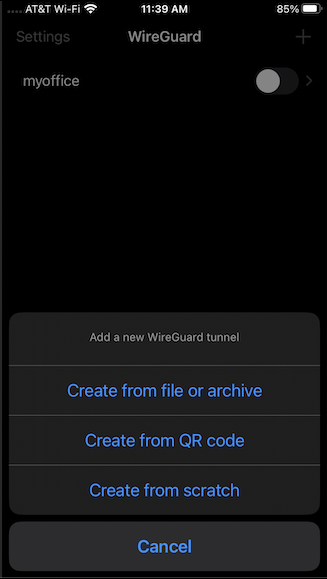
- Select the file you saved
- When prompted with "WireGuard Would Like to Add VPN Configuration," tap Allow and enter your iPhone passcode
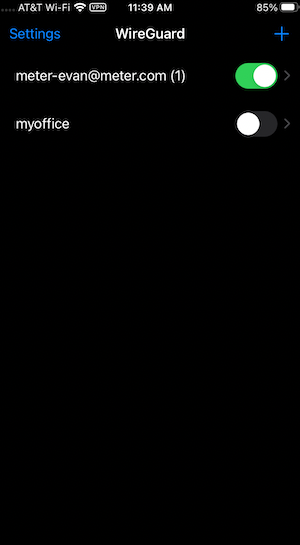
- Toggle on the VPN from general settings (you'll see "VPN" in the top-right of the screen when connected)
DNS setup
By default, the WireGuard VPN allows you to access IP addresses on your office network (e.g., 10.1.2.3). To resolve hostnames to IP addresses (for example, to SSH to "KatherineMBP"), you need to configure DNS search domains.
Add local.meter to the list of search domains on your machine. You can find instructions for configuring search domains for your OS here: https://en.wikipedia.org/wiki/Search_domain
Related resources
- Setting up Client VPN - Configure the VPN server
- Adding and removing VPN clients - Manage VPN users
Need help?
If you run into any issues or have questions, please reach out to our Support Engineering team by opening a ticket via the Dashboard: https://dashboard.meter.com/support
Last updated by Meter Support Engineering on 01/23/2026